Showing posts with label red velvet. Show all posts

Thursday, September 2, 2010

Red Velvet Cookies


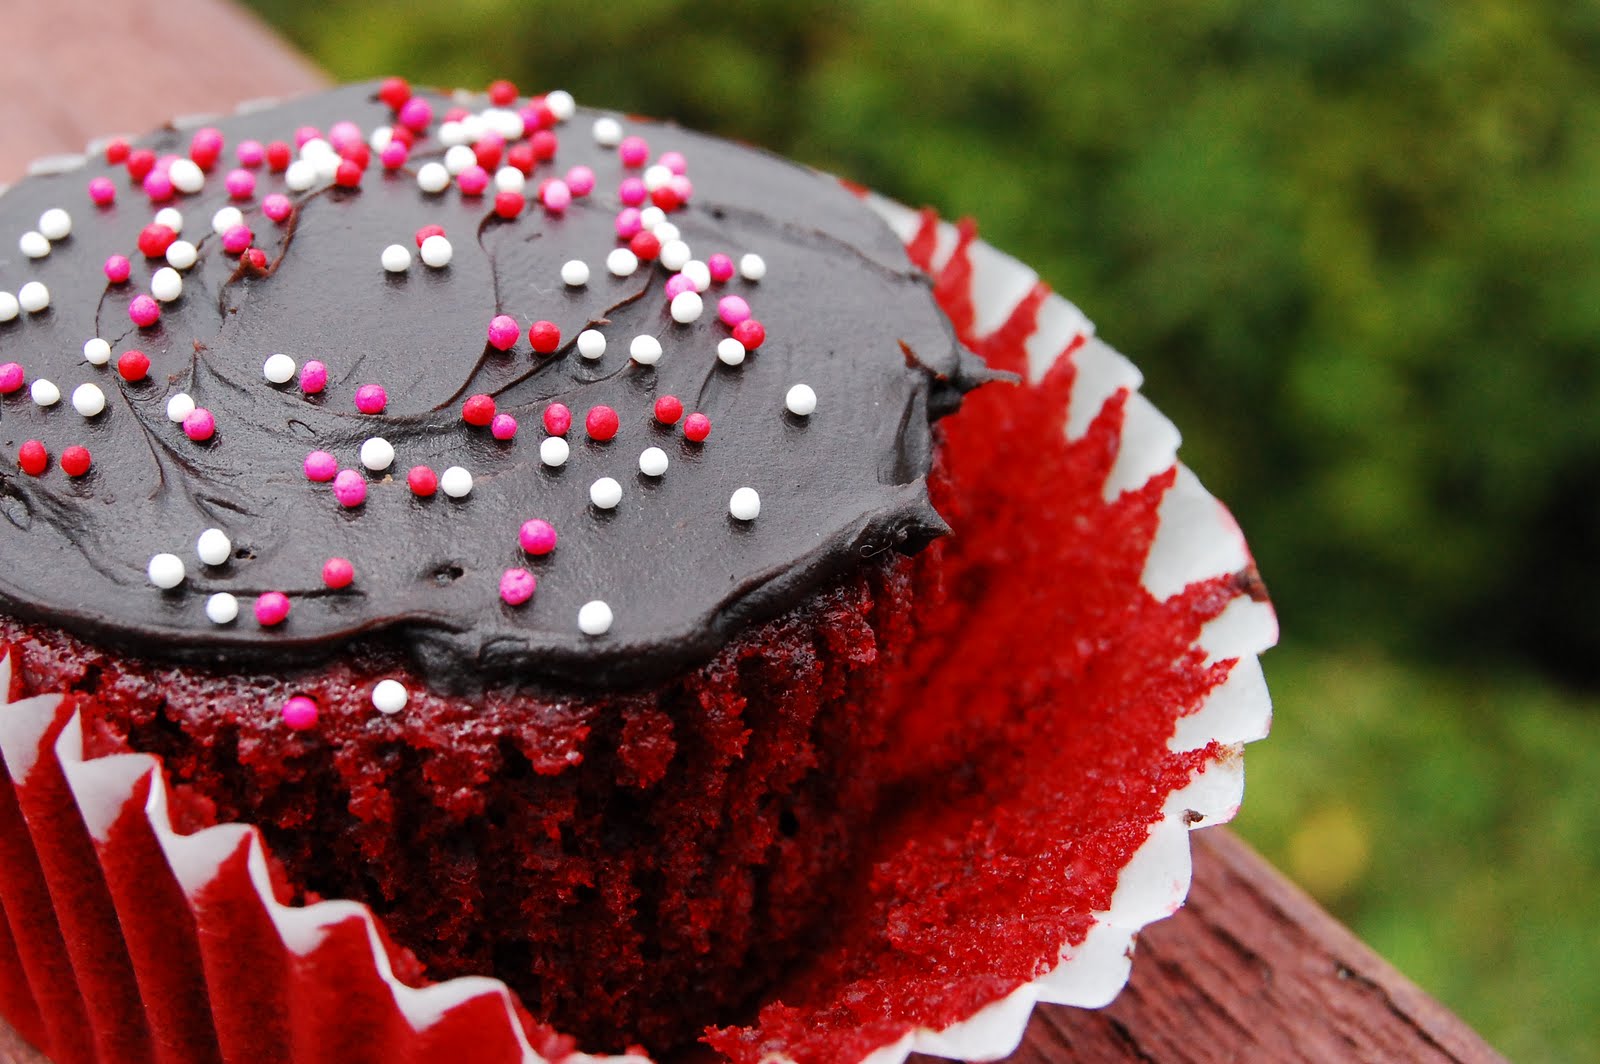
It's almost Labor Day weekend and for every patriotic holiday we have, some random person goes around my neighborhood and places little American flags on every person's lawn. It's nice of them to do that. As I was looking at that flag flying in the wind, a light bulb went off in my head -- bake something "American". Little red velvet star-shaped shortbread cookies. The name is a mouthful, but the cookie is wonderful. Whoever decided that shortbread and red velvet go well together is my hero.

Using a small dollar-coin size star cutter, I made approximately 50 cookies. These little guys are great because they aren't as sweet, but have a hint of cocoa in them. And because of their small size, I don't feel as guilty eating 3 or 4. I left out the white chocolate just because I didn't have any on hand and didn't feel like going out to the market. I do think they would taste good with it though, so next time I have white chocolate, I will definitely use it! Enjoy~

Here's the recipe from Better Homes and Garden:

Ingredients

  • 1-1/4 cups all-purpose flour
  • 1/3 cup sugar
  • 2 tablespoons unsweetened cocoa powder
  • 1/4 teaspoon salt
  • 1/2 cup butter, cut up
  • 1 tablespoon red food coloring
  • 3 ounces white chocolate (with cocoa butter), coarsely chopped
  • 1-1/2 teaspoons shortening
  • Finely chopped pistachios or rainbow nonpareils (optional)

Directions

1. Preheat oven to 325 degrees F. In a food processor, combine flour, sugar, cocoa powder, and salt. Cover and process with on/off turns until combined. Add butter and red food coloring. Process with on/off turns until mixture resembles fine crumbs. Process until mixture just forms a ball.*

2. On a lightly floured surface, knead dough lightly until nearly smooth. Roll or pat dough to a 1/2-inch thickness. Using a floured 1-1/2-inch round cutter, cut out dough. Place cutouts 1 inch apart on an ungreased cookie sheet. Press scraps together and reroll.

3. Bake in the preheated oven for 20 to 25 minutes or until centers are set. Transfer cookies to a wire rack; let cool.

4. In a heavy small saucepan, melt white chocolate and shortening over low heat, stirring constantly. Dip half of each cookie into melted chocolate. If desired, sprinkle with pistachios or nonpareils. Let stand on waxed paper until set. Makes about 24 cookies.

*Hand-mixing method: In a medium bowl, stir together flour, sugar, cocoa powder, and salt. Using a pastry blender, cut in butter and food coloring until mixture resembles fine crumbs and starts to cling together (it will take a while for the dough to come together). Form mixture into a ball, kneading until smooth.

To Store: Place cookies in a single layer in an airtight container; cover. Store at room temperature for up to 3 days or freeze for up to 3 months.

Thursday, June 10, 2010

Red Velvet Cupcakes


I remember the first time I tried a red velvet cupcake...I hated it. *gasp* I mean c'mon, who hates red velvet?! I thought it tasted like a bland chocolate cupcake -- poser. And if you know me, you should know that I like bold, rich flavors. Anything remotely bland makes me want to gag. Maybe that's why I love Indian food so much.

The second time I tried red velvet, I knocked off the cream cheese frosting because I hated that even more than the cupcake. *gasp x1000* Yeah, I know. How can I call myself a true baker if I don't even like the beloved cheese frosting? But this time, I actually appreciated the subtle cocoa flavor and the not-so-sweet characteristic of red velvet.

The third time was the charm. There was a catch this time because I made it from scratch. And usually, when I make things myself, I tend to like it a little more. Narcissistic maybe? Maybe.

For these cupcakes, I used the recipe from Pinch My Salt. However, I am STILL not sold on cream cheese frosting, so I've done what goes against nature...I used chocolate frosting instead. These cupcakes are really moist, fluffy, and take all the will-power in the world to only eat one. Enjoy!


Red Velvet Cupcakes

2 1/2 cups sifted cake flour
1 teaspoon baking powder
1 teaspoon salt
2 tablespoons unsweetened cocoa powder
2 oz. red food coloring (two bottles)
1/2 cup unsalted butter, softened
1 1/2 cups sugar
2 eggs, at room temperature
1 teaspoon vanilla extract
1 cup buttermilk, at room temperature
1 teaspoon white vinegar
1 teaspoon baking soda

1. Preheat oven to 350 degrees. Line two 12-cup muffin tins with cupcake papers.

2. Sift together the cake flour, baking powder, and salt into a medium bowl; set aside. In a small bowl, mix food coloring and cocoa powder to form a thin paste without lumps; set aside.

3. In a large bowl, using a hand mixer or stand mixer, beat butter and sugar together until light and fluffy, about three minutes. Beat in eggs, one at a time, then beat in vanilla and the red cocoa paste, scraping down the bowl with a spatula as you go. Add one third of the flour mixture to the butter mixture, beat well, then beat in half of the buttermilk. Beat in another third of flour mixture, then second half of buttermilk. End with the last third of the flour mixture, beat until well combined, making sure to scrape down the bowl with a spatula.

4. In a small bowl, mix vinegar and baking soda. Yes, it will fizz! Add vinegar mixture to the cake batter and stir well to combine. Using an ice cream scoop, fill cupcake cups with cake batter (they should be 2/3 – 3/4 full). You may not fill all the cups, I ended up with 20 cupcakes. Place muffin tins on the middle rack of a preheated 350 degree oven. Bake for approximately 20-22 minutes, rotating pans halfway through. Cupcakes are done when a toothpick inserted in the center comes out clean.

5. Cool the cupcakes in their tins on a wire rack for 10 minutes then remove and allow to cool completely before frosting.